
📣 This is the second article in my "Getting Started with Gatsby" series. This post will describe how to structure your projects and demonstrate how you can modify a starter to suit your needs. In case you missed it, check out the first article in this series for an introduction to Gatsby.
The repository containing the project files used throughout this tutorial can be found here.
Creating Pages 📄
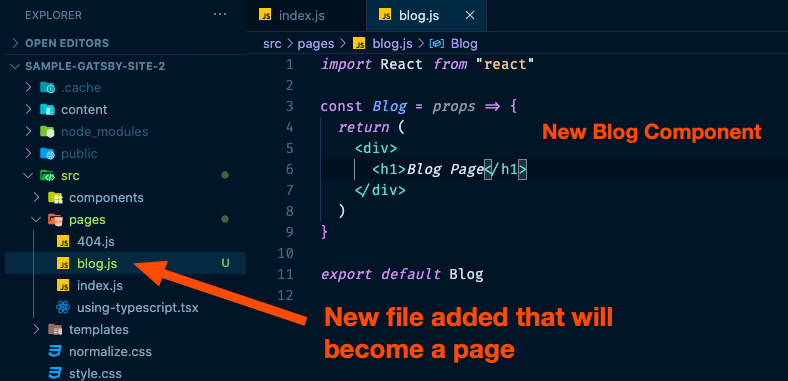
For most websites, you need to navigate to separate pages within your site. Any React component defined in src/pages/*.js will automatically become a page.
As an example, let's say we want to create a new Blog page:
- Create a file named
blog.js. - Add the
blog.jsfile to thesrc/pagesdirectory 📁 - Add boilerplate code to the
<Blog />component so that we have something to render when we visit the page.
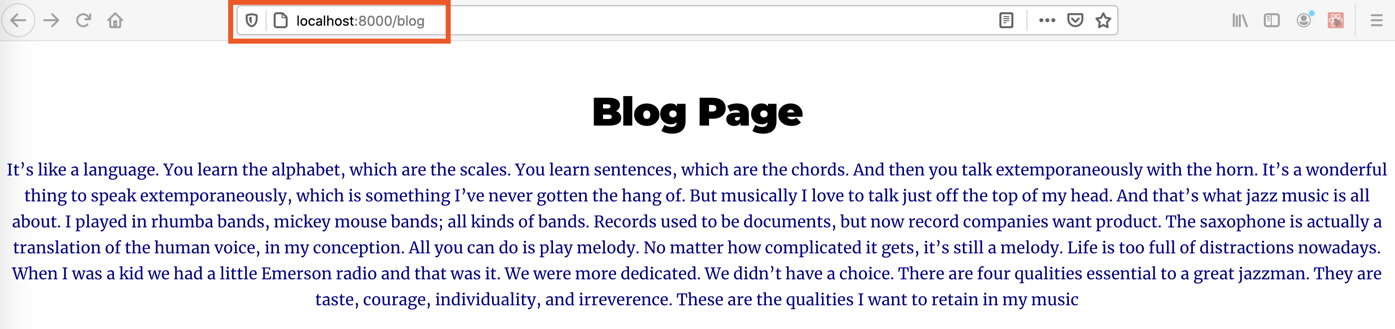
Now that we have created a new "Blog" page, you should have a page accessible at http://localhost:8000/blog/.
Linking to Pages 🔗
The Gatsby
<Link />component is for linking between pages within your site. For external links to pages not handled by your Gatsby site, use the regular HTML<a>tag. -Gatsby Docs
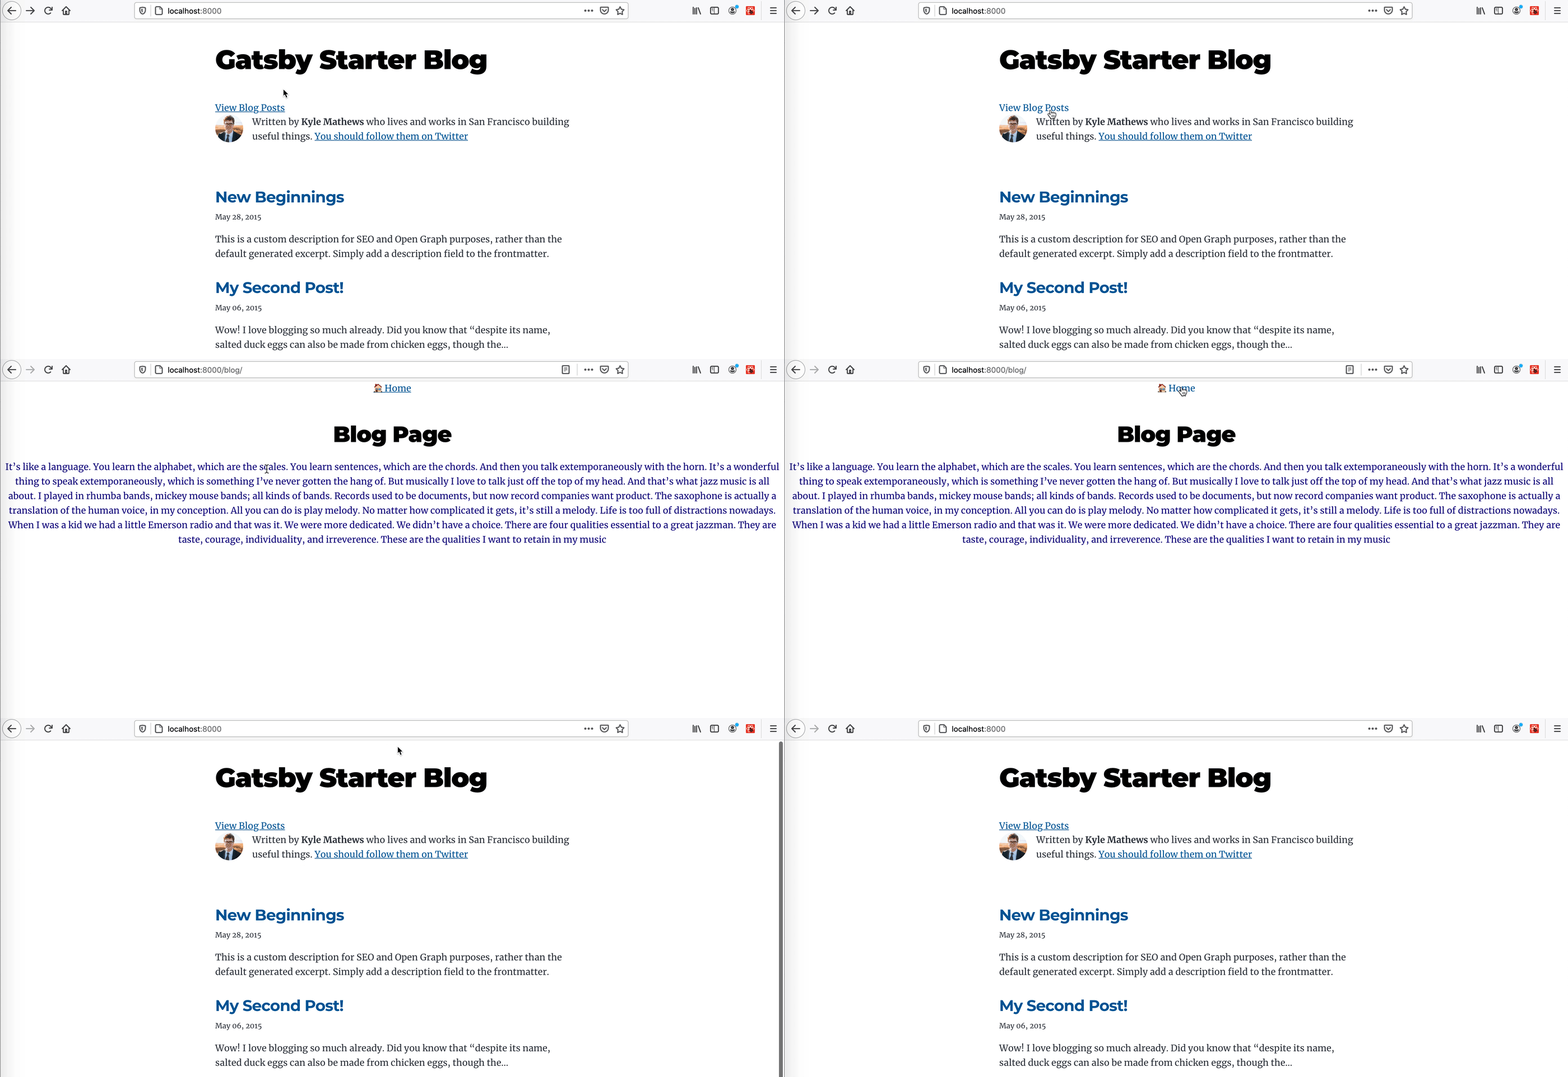
Now that we know how to create pages, let's learn how to link between those pages. You can easily link between pages via the Link Component.
Steps
- Import the
<Link />component into thesrc/pages/index.jsfile.import { Link } from "gatsby" - Add the
<Link />component to theindex.jsfile.- Since we created a new
blog.jsfile, you can add the<Link />component toindex.jsand point it to the new "Blog" page. - Now when you click the link, it will navigate you to the specified page.
<Link to="/blog/">View Blog Posts</Link>
- Since we created a new
- To link back to the homepage, you can add the following code to
blog.js.<Link to="/">Home</Link>
Layout Components 🖼️
Layout components are for sections of your site that you want to share across multiple pages. For example, sites will commonly have a layout component with a shared header and footer. Other common things to add to layouts are a sidebar and/or navigation menu. -Gatsby Docs
It's recommended to add your Layout component to the /components/ folder with the rest of your components.
Creating and Using the layout Component
Add
layout.jsin thesrc/components/folder.Create a
<Layout />component and add the code that you want to be accessible across other pages.
//Sample Layout Component - src/components/layout 📁
import React from "react"

const Layout = (props) => {
  return (
    <div>
      <nav className="navigation-bar">
         <ul>
           <li><a href="#home">Home</a></li>
           <li><a href="#about">About</a></li>
           <li><a href="#blog">Blog</a></li>
           <li><a href="#contact">Contact</a></li>
     </ul>
      </nav>
      <main>{children}</main>
      <footer>
        © {new Date().getFullYear()}, Built with
        {` `}
        <a href="https://www.gatsbyjs.com">Gatsby</a>
      </footer>
    </div>
  )
}
export default Layout;
3.Once you have added your code to layout.js, import the component into index.js.
- In order to apply a layout to a page, you need to import the
<Layout />component and wrap your page in it. A<Layout />component can be applied to any page and allows you to easily access commonly used elements, like navigation menus, across multiple pages.
//Adding Layout component to the main page - src/pages/index.js 📁
import React from "react"
import Layout from "../components/layout"

function Home() {
  return (
    <Layout>
      <h1>This page is is wrapped in a Layout component</h1>
    </Layout>
  );
}
export default Home;
Plugins 🔌
Most sites built with Gatsby use some combination of plugins. Check out the Gatsby Plugin Library for an exhaustive list of plugins to choose from.
Installing and configuring are the two primary steps when it comes to adding plugins to your site. To demonstrate how to add plugins to a Gatsby site, I will go through the process of configuring the gatsby-plugin-google-analytics.
Installing
npm install gatsby-plugin-google-analytics
Configuring
After installing, you need to edit the gatsby-config file and add the plugin that you just installed.
gatsby-config.jsis a special file that Gatsby looks for. This file contains plugin information and configuration, your site's metadata, and other miscellaneous configurations.The
gatsby-config.jsfile should be placed at the root level of your project.- If you created a Gatsby site using the
gatsby newcommand, then you should already have a stub of this already included in your project. Most starters utilize this command so it's highly likely that you will have this file readily available in your project.
- If you created a Gatsby site using the
- Once the plugin as been installed, you need to add it to the plugins array within
gatsby-config.js
Options
Many plugins have optional or required options to configure them. Instead of adding a name string to the
pluginsarray, add an object with its name and options. As an example, view the list of options forgatsby-plugin-google-analytics
Plugins can either be set with or without options.
If a plugin does not require options, you can simply add it to the array like so:
  module.exports = {
    plugins: [`gatsby-plugin-react-helmet`],
  }
If a plugin does accept options, you can add it to the array like this:
  module.exports = {
    plugins: [
      `gatsby-plugin-react-helmet`, //Plugin w/ no options
      {
        //Plugin with options
        resolve: `gatsby-plugin-google-analytics`,
        options: {
          trackingId: `ADD YOUR TRACKING ID HERE`,
        },
      },
    ]
  }
Styling in Gatsby 🎨
Gatsby is unopinionated when it comes to styling your site. You can use plain ol' CSS, CSS Modules for a scope-based CSS option, or go with CSS-in-JS library like styled-components. I personally use Tailwind CSS on my website but you can use whatever suits your fancy!
How to add global styles:
Add a
global.cssfile. It's a common pattern to create a/stylesdirectory that houses the sites CSS files, but Gatsby does not enforce this structure in order to work.Create a
gatsby-browser.jsfile at the root level of your project.- gatsby-browser.js is another one of many special files that Gatsby specifically looks for and utilizes (if it exists). In this case, the file naming convention is important and must be enforced in order to work
Import the
global.cssfile intogatsby-browser.js- Add some styles and you should now see them reflected when the webpage refreshes.
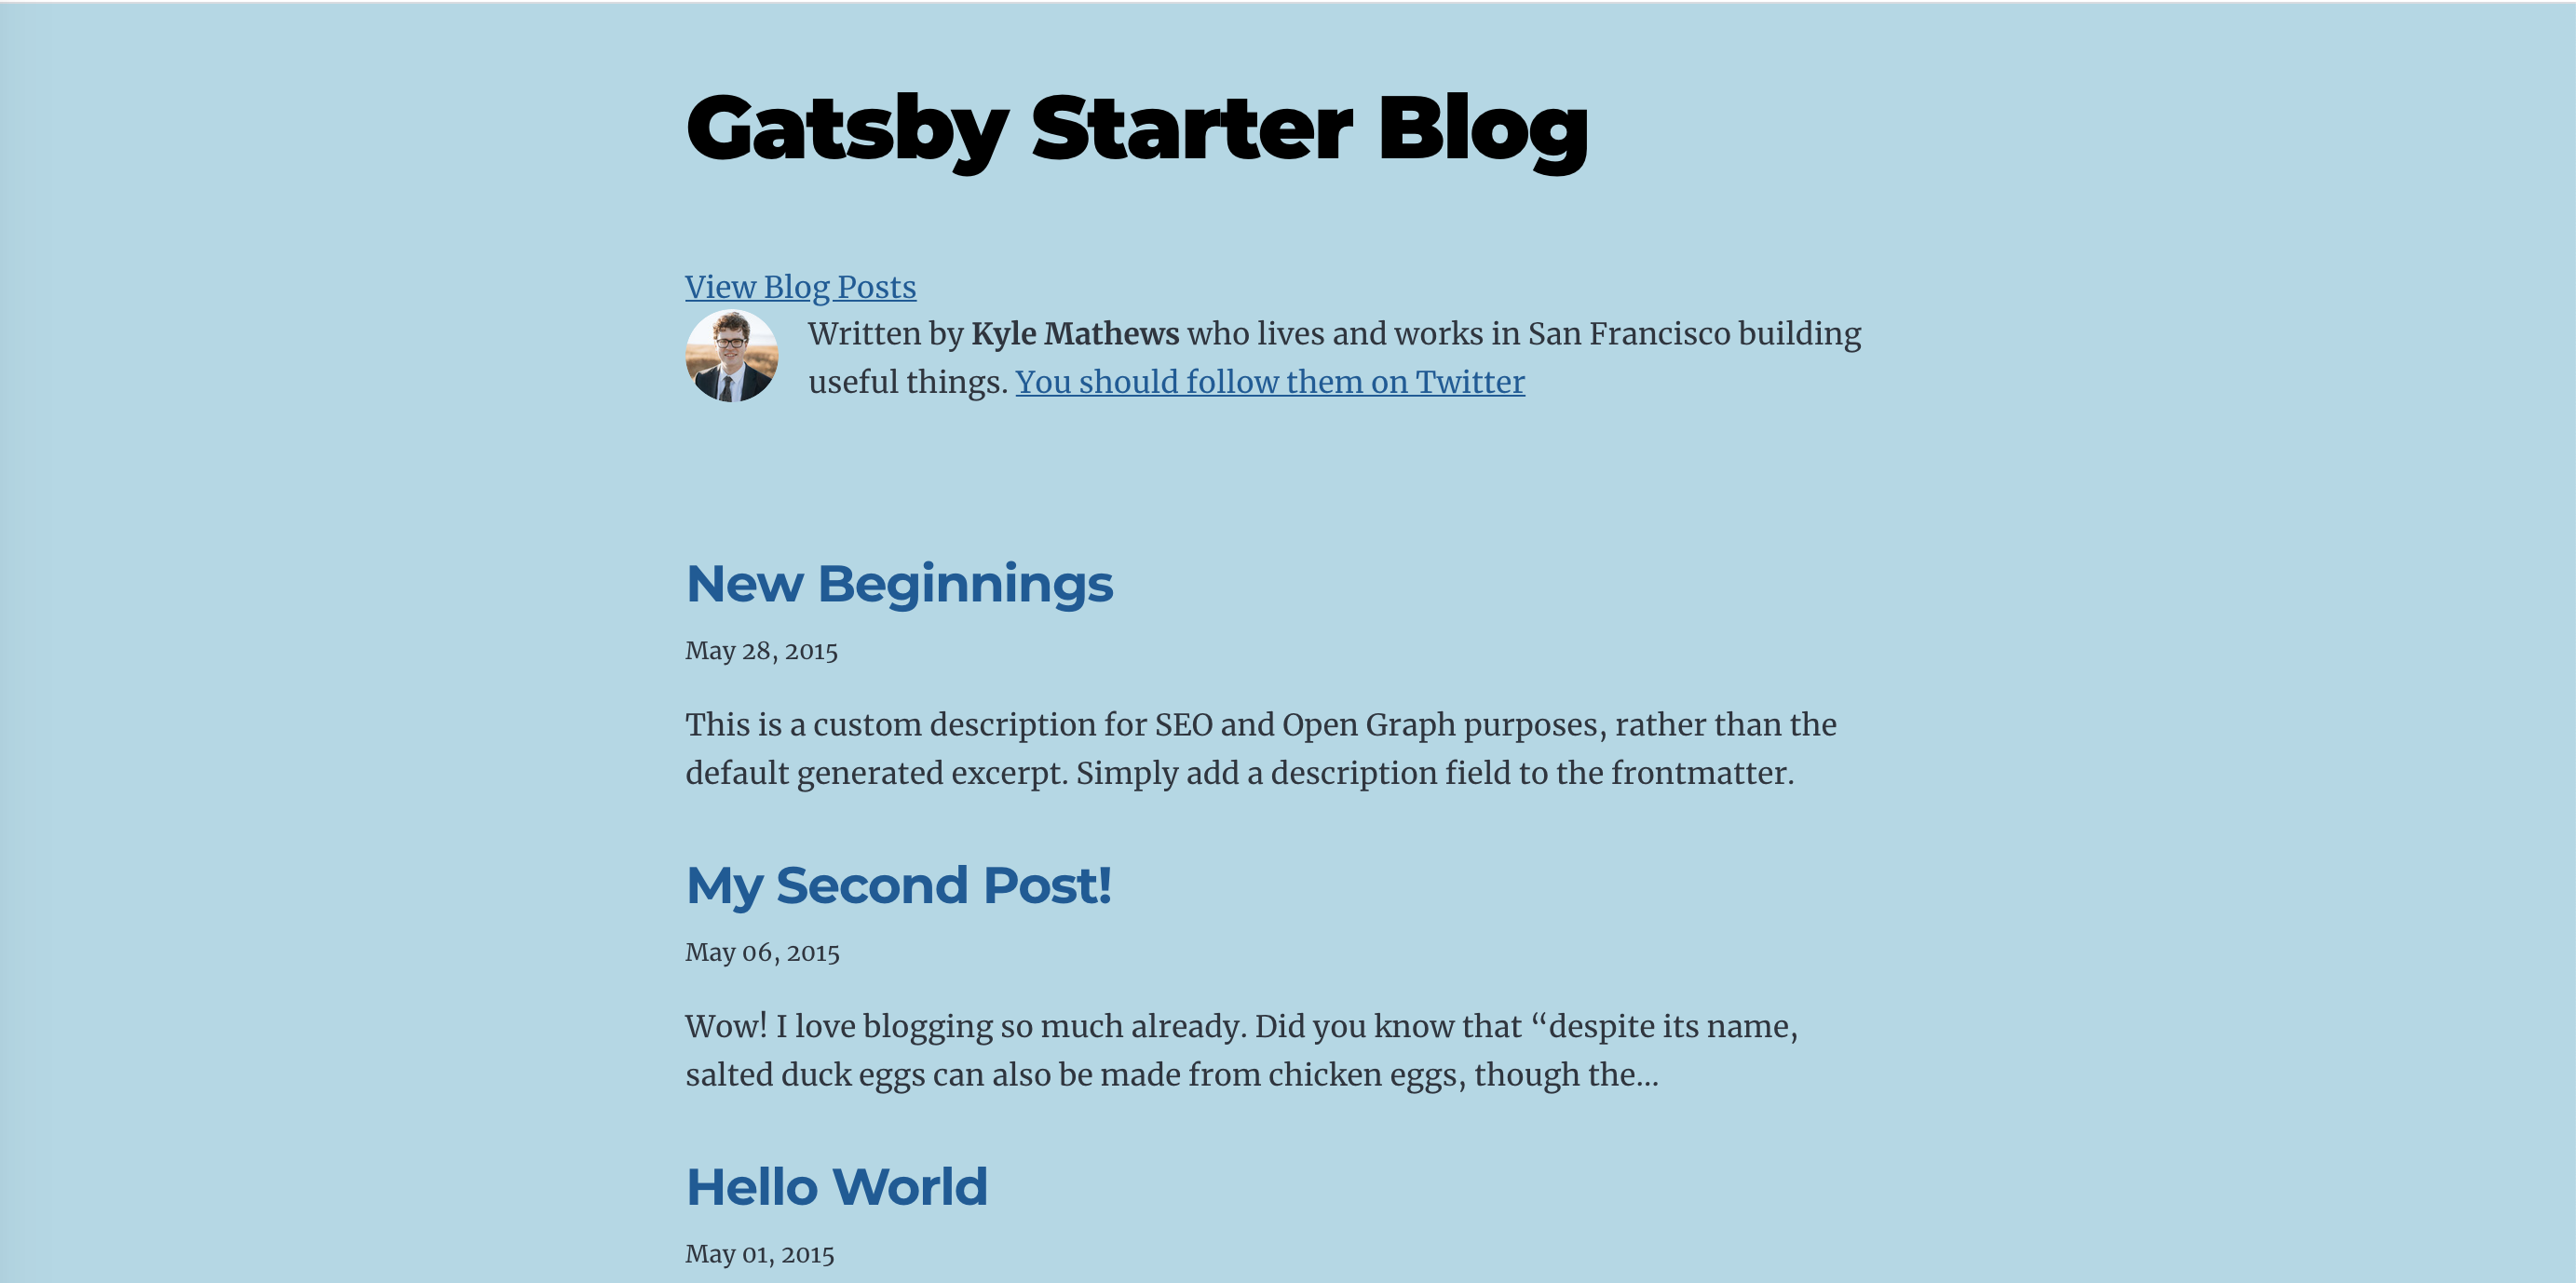 Example - Adding global style of
 background-color: lightblue to body tag
El Fin 👋🏽
We learned the building blocks needed to style and modify a Gatsby site to suit your needs. In the next article, we'll take this one step further and I'll show you how to take a Gatsby site and deploy it using Netlify.
If you enjoy what you read, feel free to like this article or subscribe to my newsletter, where I write about programming and productivity tips.
Thanks for reading and stay tuned for the next one!
Resources
About the author
Welcome to my blog 👋🏽
I'm a Front-End Developer with a passion for learning!
I write about Programming 👩🏽💻 and Productivity Tips ✅
Comments
Join the discussionAmazing Post. 🚀
Thank you 😊
Thanks Rahul! 😃
Getting Started with Gatsby
In this series, I will cover the basics of Gatsby, along with some core concepts. At the end of this series, you will learn how to deploy a Gatsby site using Netlify.


