Deploy a Gatsby Site with Netlify

Welcome to my blog 👋🏽
I'm a Front-End Developer with a passion for learning!
I write about Programming 👩🏽💻 and Productivity Tips ✅
In this article, I will explain how to take a Gatsby site and go "live" by deploying it with Netlify. If you're new to Gatsby and haven't read my previous articles, feel free to check out my "Getting Started with Gatsby" series for further information.
The repository containing the project files used throughout this series can be found here.
Prerequisites
This article assumes you already have a Netlify account connected to your Github but if that's not the case you can sign-up here for free.
Build Process (Local)
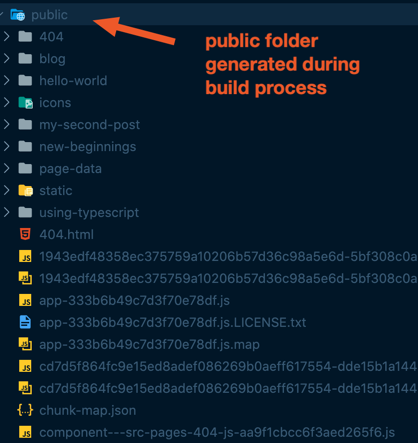
In order to prepare our project for deployment, we need to build our project. To do this, we can use Gatsby's CLI and run gatsby build. Running this command compiles the application and it will compress and optimize the files for the web. Static files are then generated and bundled in the /public directory.
Once the build process has completed, you can run gatsby serve to view a sample production version of the site on http://localhost:9000/. As the command alludes to, it serves the production build of your site for testing. Run this after building your site to test what your site will look and act like in production.
This is a good opportunity to ensure that images are being displayed properly, routes navigate to the right places, and the overall site works as you would expect.
Netlify
According to their docs:
Netlify is an all-in-one platform for automating modern web projects.
I've only scratched the surface when it comes to working with Netlify, but for our purposes, we will use Netlify in two ways:
- Build Configuration - Whenever we push up changes to the connected repo, Netlify will run the
gatsby buildcommand and handle the building project files. - Automatic site deploys - After the build has successfully completed, Netlify will deploy an updated version of our site.
Overall, Netlify removes a lot of the hassle and makes deploying your website super simple.
Deployment Steps
Once you're logged in to Netlify, click on the "Sites" tab and then click on the green "New site from Git" button.

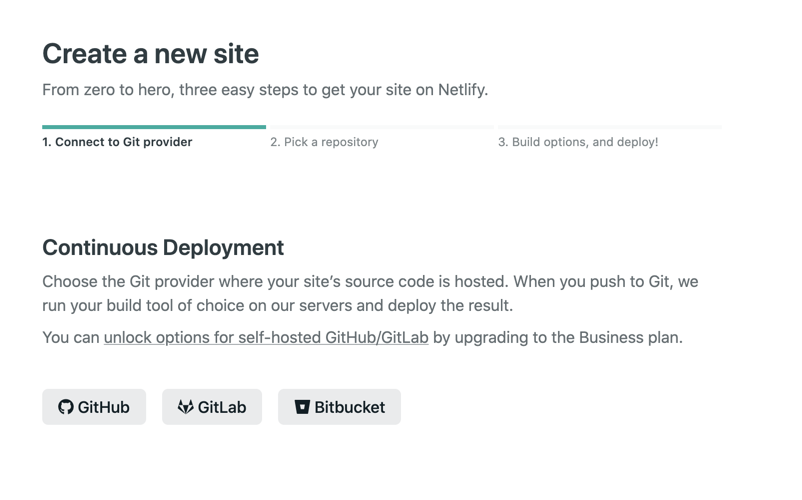
From there you will be taken to a new screen with three steps:
Step 1: Connect to Git provider This screen will ask you to select your git provider of choice. After making this selection, it will authorize your account and display a list of repositories to choose from.
Step 2: Select a Repository This is where you choose the repository of the Gatsby site that you want to deploy.

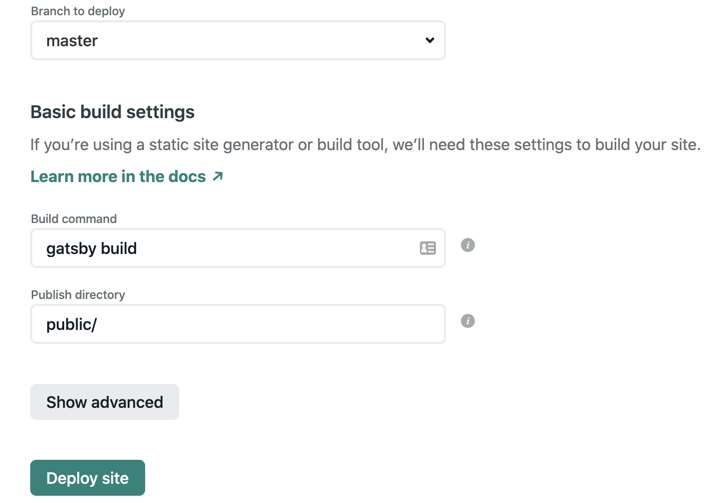
Step 3: Choose your build options and deploy: This is where you choose which branch from your repo that you want to deploy, along with the build command to run before deploying and the directory to deploy after running the build command.
Since we're deploying a Gatsby site, Netlify is smart enough to know that it needs to run the gatsby build command and publish from the /public directory.
Notice the common pattern here as these are the same steps that we performed locally when testing out the sample production site.
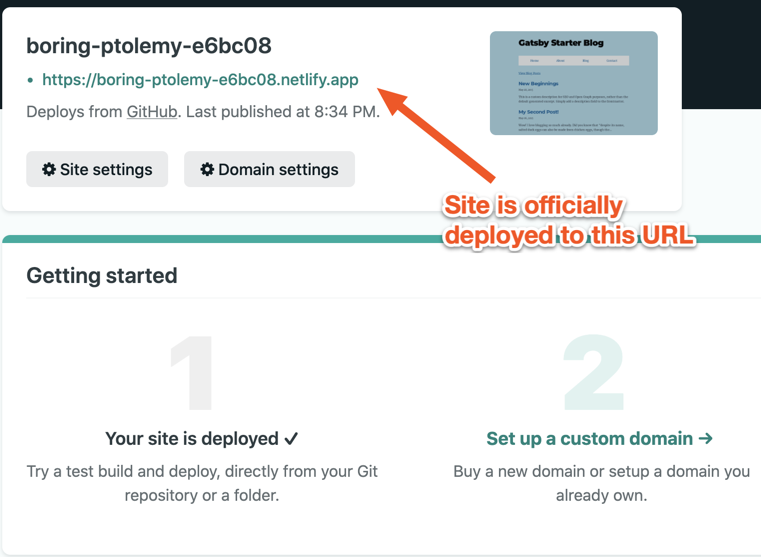
Once your site has successfully been deployed, Netlify will assign it a completely random (and typically humorous) URL and you can now view your site live!
You can check out the demo site from these examples here.
Now, whenever you push up changes to your repository, Netlify will keep track of this and auto-deploy any changes from that project.
El Fin 👋🏽
As you can see, in just a few minutes you can quickly get your site deployed with Netlify. Hopefully, this series has provided enough information to get you up and running with Gatsby. Now go and create something awesome! 🚀
If you enjoy what you read, feel free to like this article or subscribe to my newsletter, where I write about programming and productivity tips.
As always, thank you for reading, and happy coding!